
Practicing on a Model + Building a Complete Brow
This is where your practice becomes applied skill.
You’re learning to:
build structure
layer technique
refine details
This mirrors the real PMU process:
mapping → strokes → shading → refinement
Lesson 5
In this lesson…
you’ll apply everything you’ve learned so far by practicing on a model image.
You’ll move through a complete workflow:
mapping
outline
strokes
shading
This is where your digital practice begins to reflect real PMU work.
Start Lesson 5 ↓
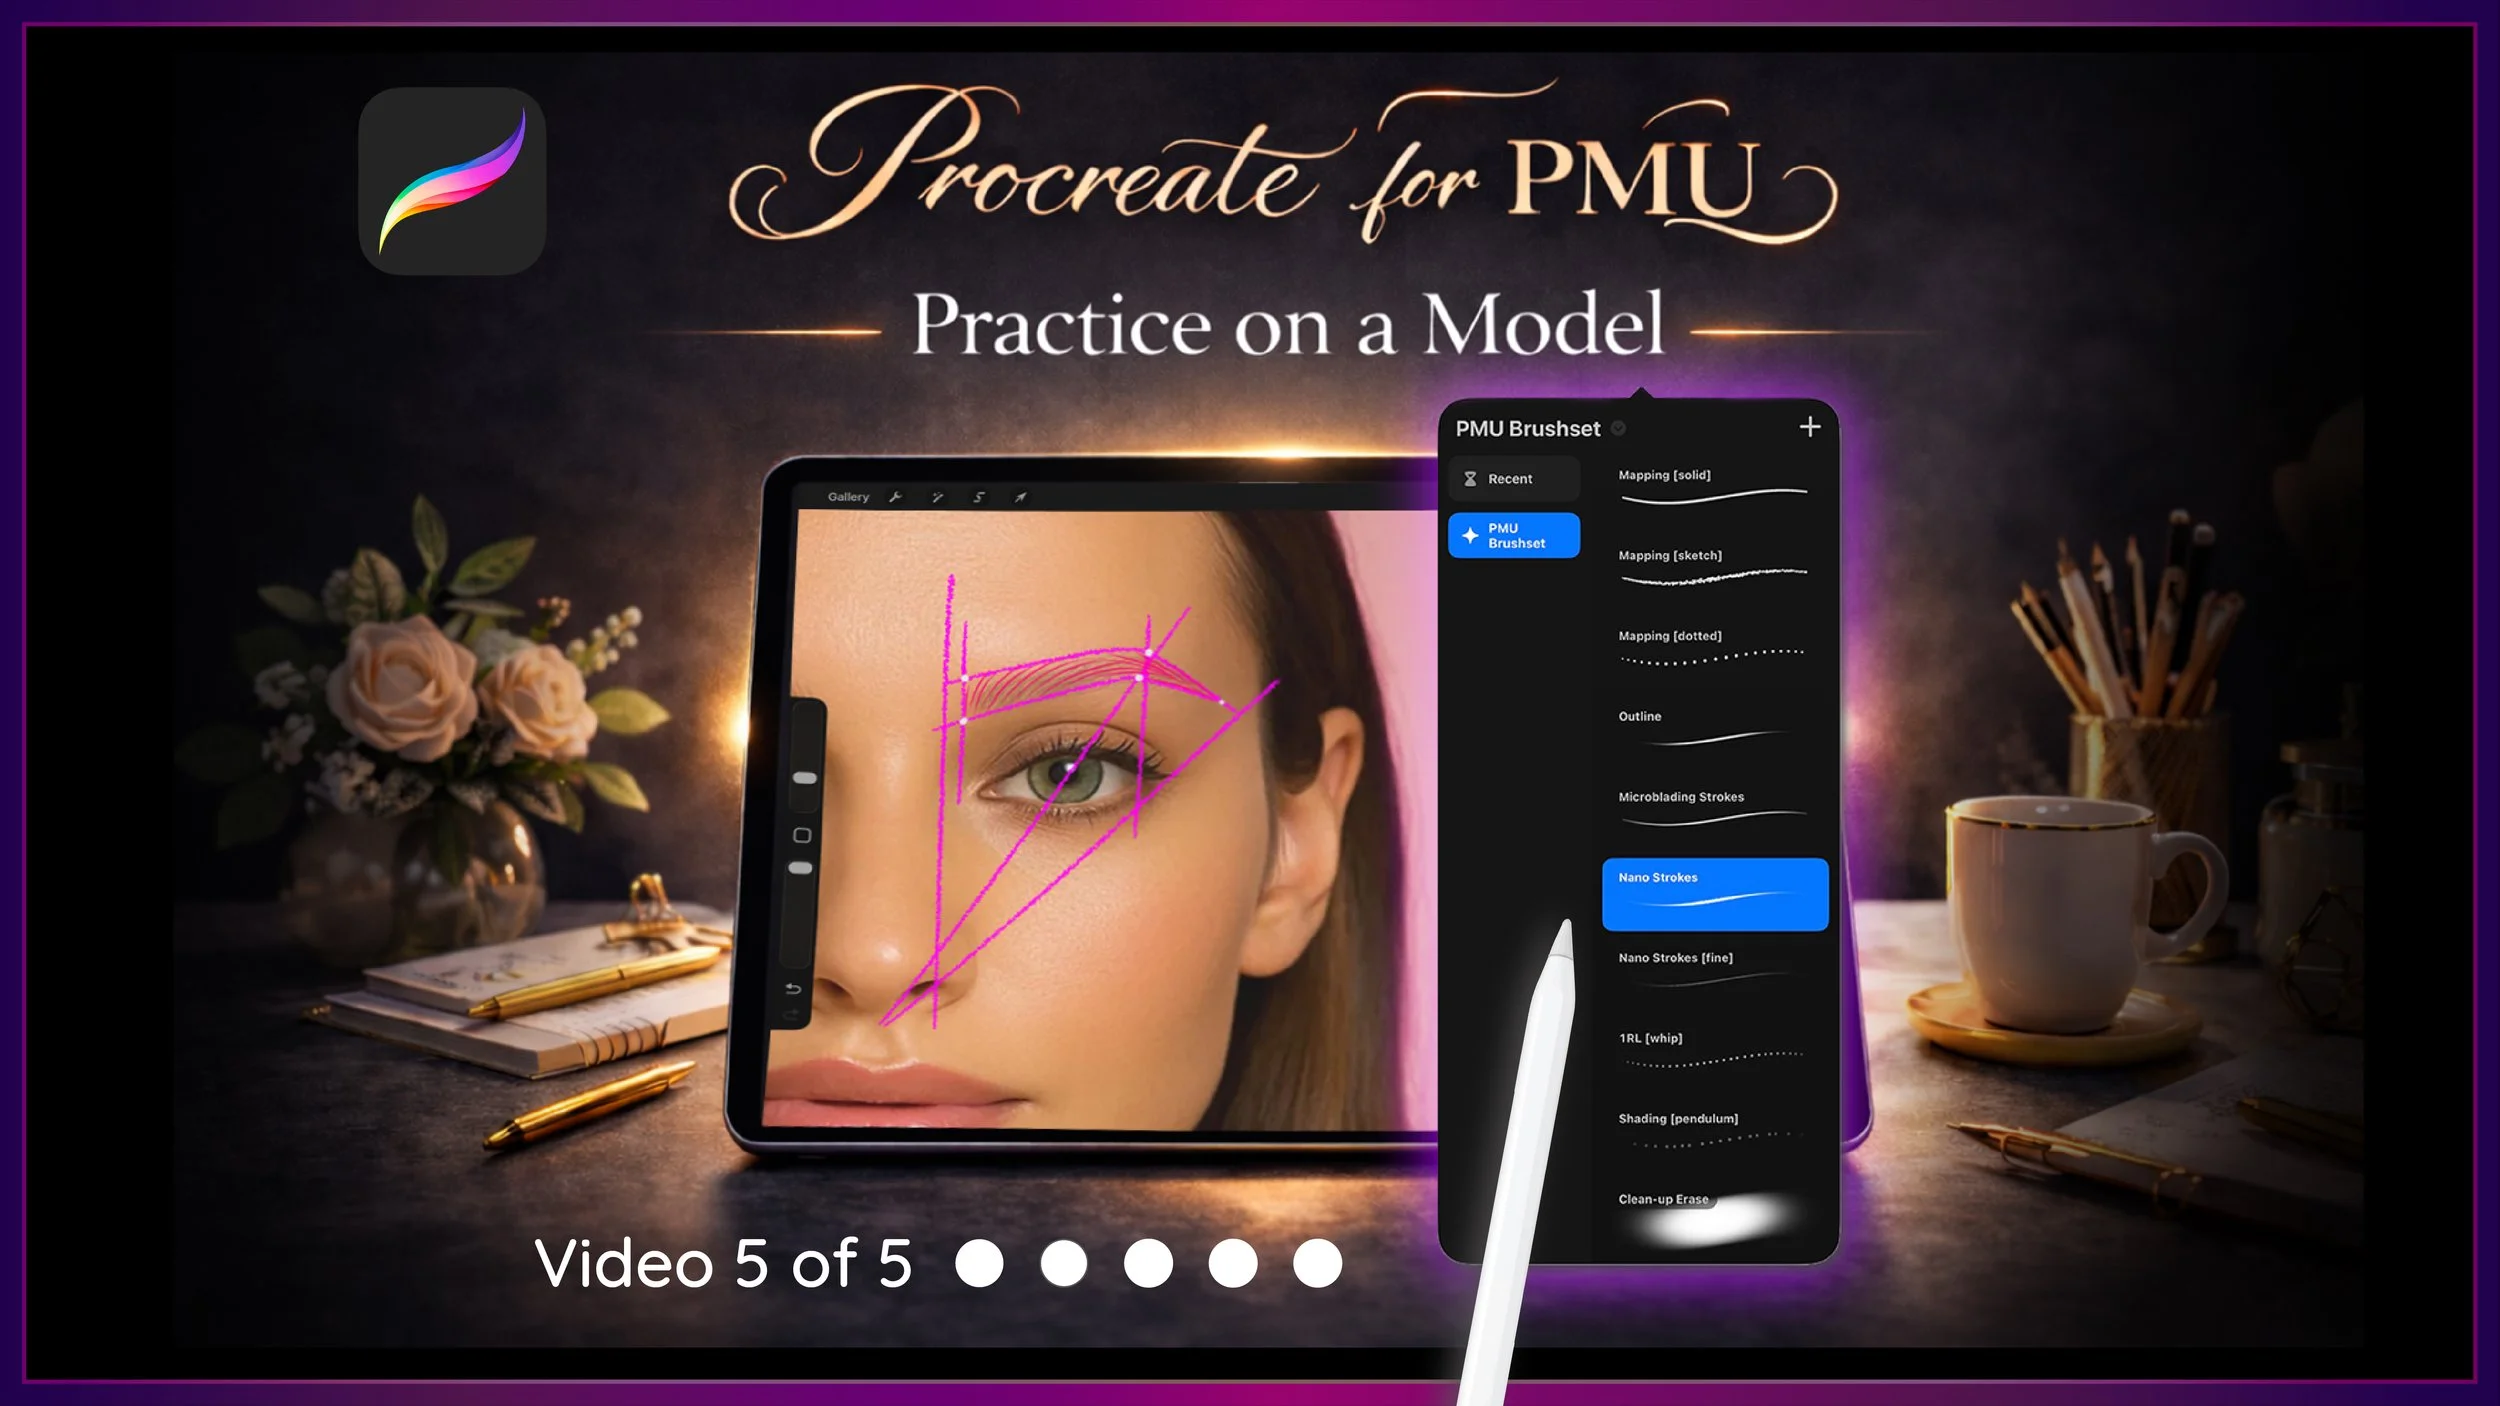
This is Video 5 of the Sacred Beauty Art 5-Part Setup Series, designed to help you build confidence and fluency using Procreate for PMU.
Step-by-Step Guide ↓
✦ Step 1 - Save Your Model Image
Open the Files App.
Go to your Downloads folder and locate your model image file.
To organize it:
Tap and hold the file
Select Move
Move it into:
Beauty Business Tools
Practice Materials
✦ Step 2 - Import the Model into Procreate
Open Procreate and go to the gallery.
Tap Import
Navigate to your Practice Materials folder
Tap the model image
The image will open as a new canvas.
✦ Step 3 - Set Up Your Layers
Open the Layers panel.
Swipe left on the image layer → tap Duplicate (backup copy)
Now create and organize your layers:
Shading
Strokes
Outline
Mapping (top layer)
This order keeps your workflow clean from planning → detail.
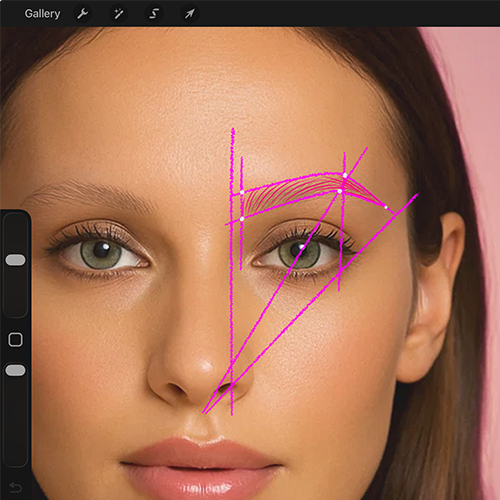
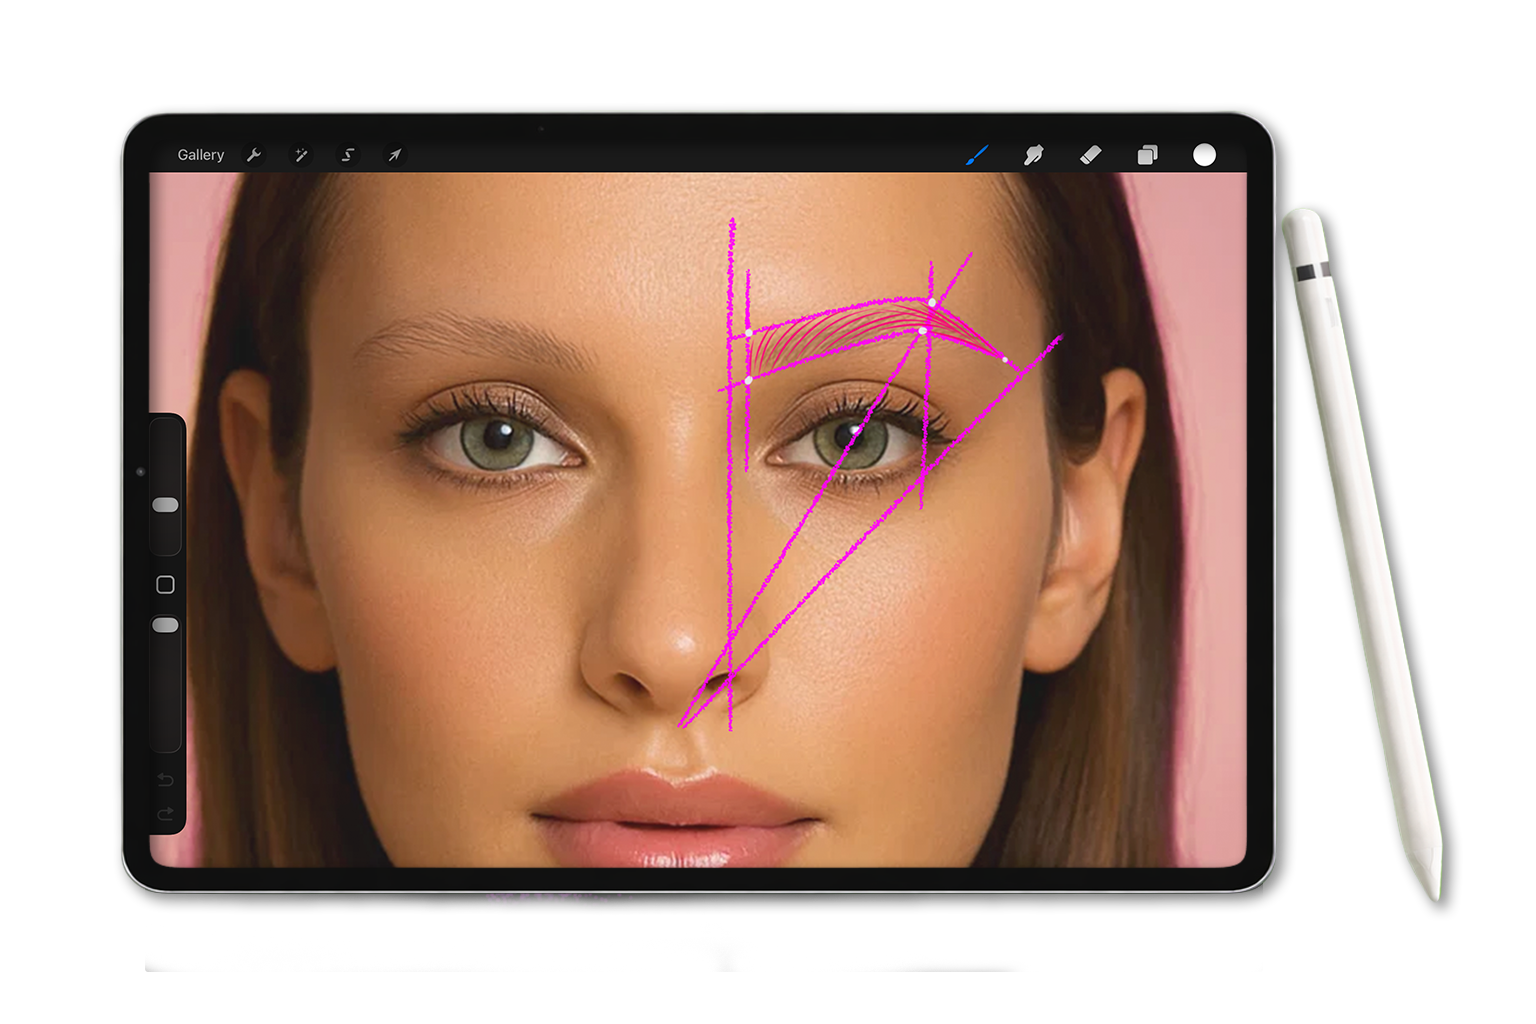
✦ Step 4 - Begin with Mapping
Select the mapping layer.
Choose a mapping brush and begin creating your brow shape.
This is your foundation:
focus on structure
test different shapes
use undo freely
Once complete:
tap the layer
tap N
lower the opacity
✦ Step 5 - Add the Outline (Optional)
Select the outline layer.
Use the outline brush to:
softly define the shape
practice steady hand control
This step helps guide your strokes.
✦ Step 6 - Begin Stroke Placement
Select the strokes layer.
Choose the nano stroke brush.
Start placing your primary strokes:
light pressure at the start
steady pressure through the middle
lift at the end
Focus on:
direction
spacing
flow
✦ Step 7 - Begin Shading (First Pass)
Select the shading layer.
Use the 1RL whip brush.
work slowly
build in light layers
focus on softness
✦ Step 8 - Add Secondary Strokes
Return to the strokes layer.
Add more strokes to:
build flow
refine shape
balance spacing
✦ Step 9 - Build Depth with Shading
Switch to the pendulum shading brush.
use smooth, controlled motion
build density gradually
maintain softness
For your final pass:
deepen areas carefully
create dimension
✦ Step 10 - Clean Up Your Work
Select the eraser tool → choose the cleanup erase brush
Use it to:
refine edges
remove excess strokes
clean outside the shape
You can also use this alongside the clone tool for more detailed cleanup.
✦ Step 11 - Review + Compare
Turn off:
mapping layer
outline layer
Now you can clearly see your final result.
✦ Step 12 - Merge + Save Your Work
To finalize:
pinch shading + stroke layers together to merge
toggle the layer on/off to see before and after
To save:
Tap Actions (wrench icon)
Tap Share
Tap Save Image
Why This Matters
This is where your practice becomes applied skill.
You’re learning to:
build structure
layer technique
refine details
This mirrors the real PMU process:
mapping → strokes → shading → refinement
✨ Your Goal for This Lesson
Before finishing, take a moment to:
✔ Import your model image
✔ Set up your layers correctly
✔ Complete a full brow (mapping → strokes → shading)
✔ Clean up your work
✔ Save your final image
Up Next…
You’ve now completed the full setup series! If you’re ready to go deeper, the full course is designed for both artists and instructors who want a clearer understanding of PMU techniques, movement and how to apply them through structured digital practice.