
Practice Page for PMU Digital Training
This is where your hand and your eye begin working together
Before working on a model, you need time to:
feel how each brush moves
understand pressure
build repetition
Lesson 4
In this lesson…
you’ll begin practicing with your PMU brush set on a dedicated digital practice page so you can explore how each brush behaves before working on a model.
This is where you begin developing:
control
rhythm
stroke consistency
This step gives you space to slow down and understand your tools.
Start Lesson 4 ↓
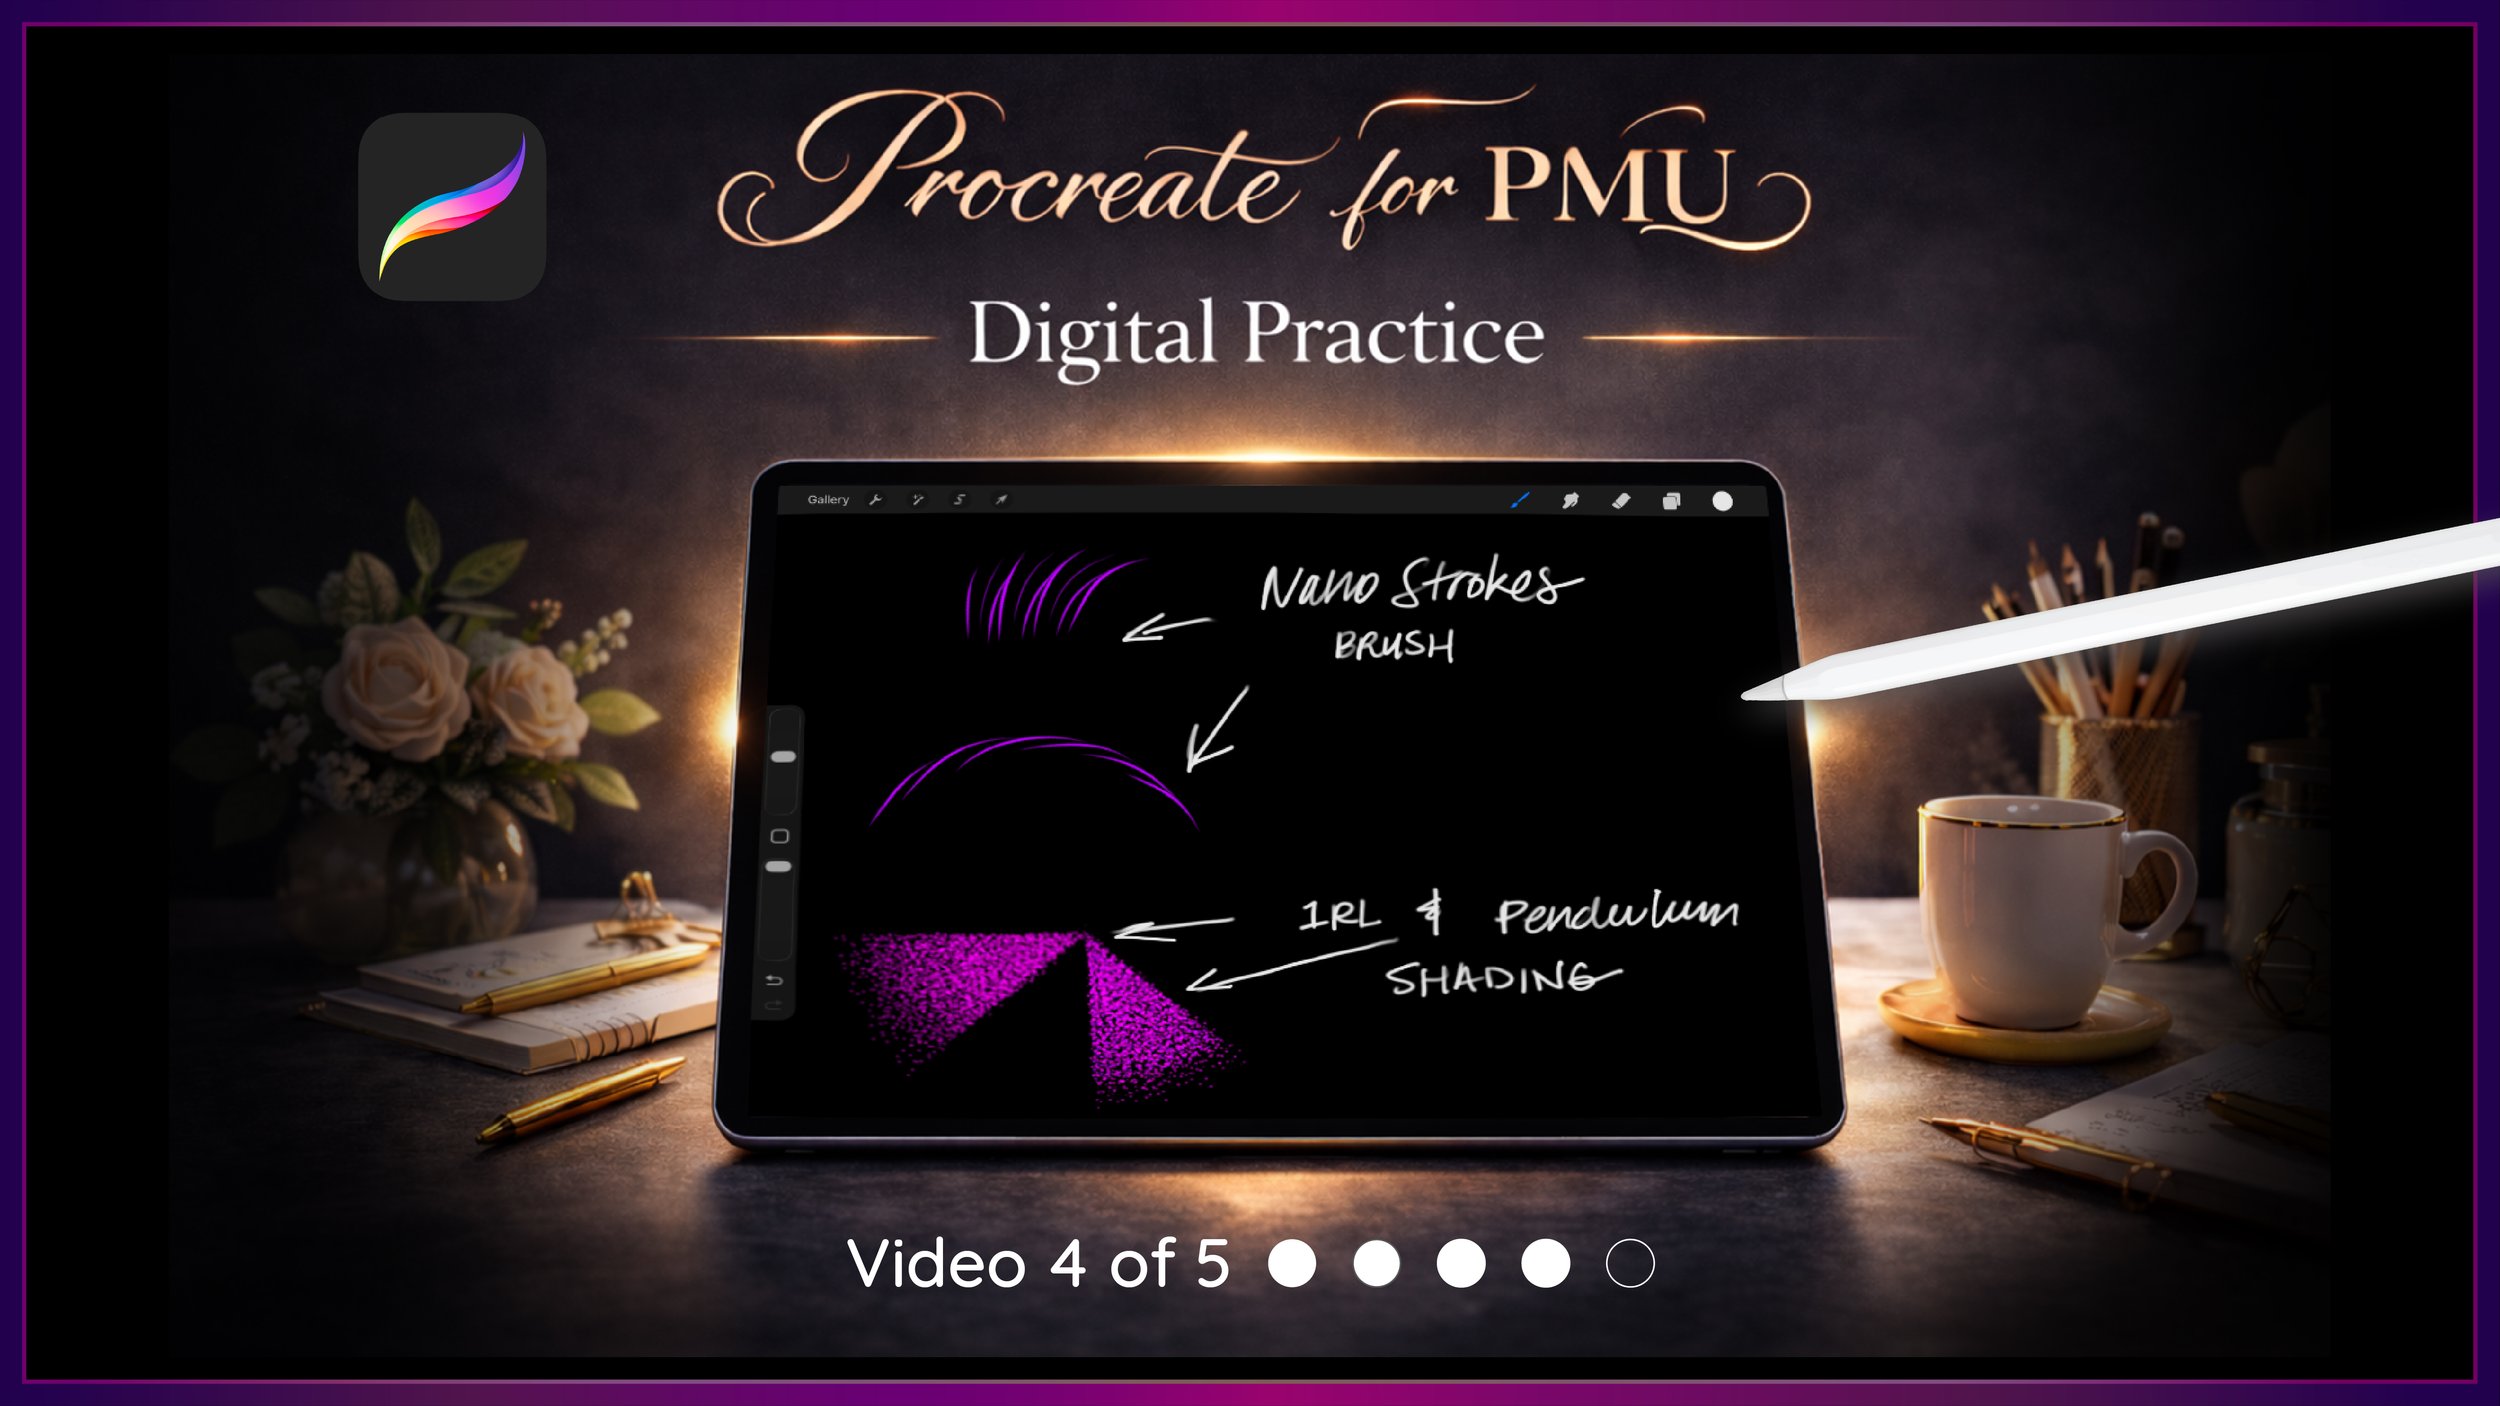
This is Video 4 of the Sacred Beauty Art 5-Part Setup Series, designed to help you build confidence and intention through digital practice.
Step-by-Step Guide ↓
✦ Step 1 - Save Your Practice Page File
Open the Files App.
Go to your Downloads folder and locate your practice page file.
To organize it:
Tap and hold the file
Select Move
Go to:
Beauty Business Tools
Practice Materials
This keeps your workflow clean and consistent.
✦ Step 2 - Import the Practice Page into Procreate
Open Procreate.
In the gallery:
Tap Import
Navigate to your Practice Materials folder
Tap the practice page file
Your file will open as a new canvas.
✦ Step 3 - Set Up Your Layers
Open the Layers panel.
You’ll see:
the practice page on one layer
Do not draw on this layer.
Instead:
Tap the + icon
Create a new layer
(Optional) Rename it Practice
Make sure this layer is selected before drawing.
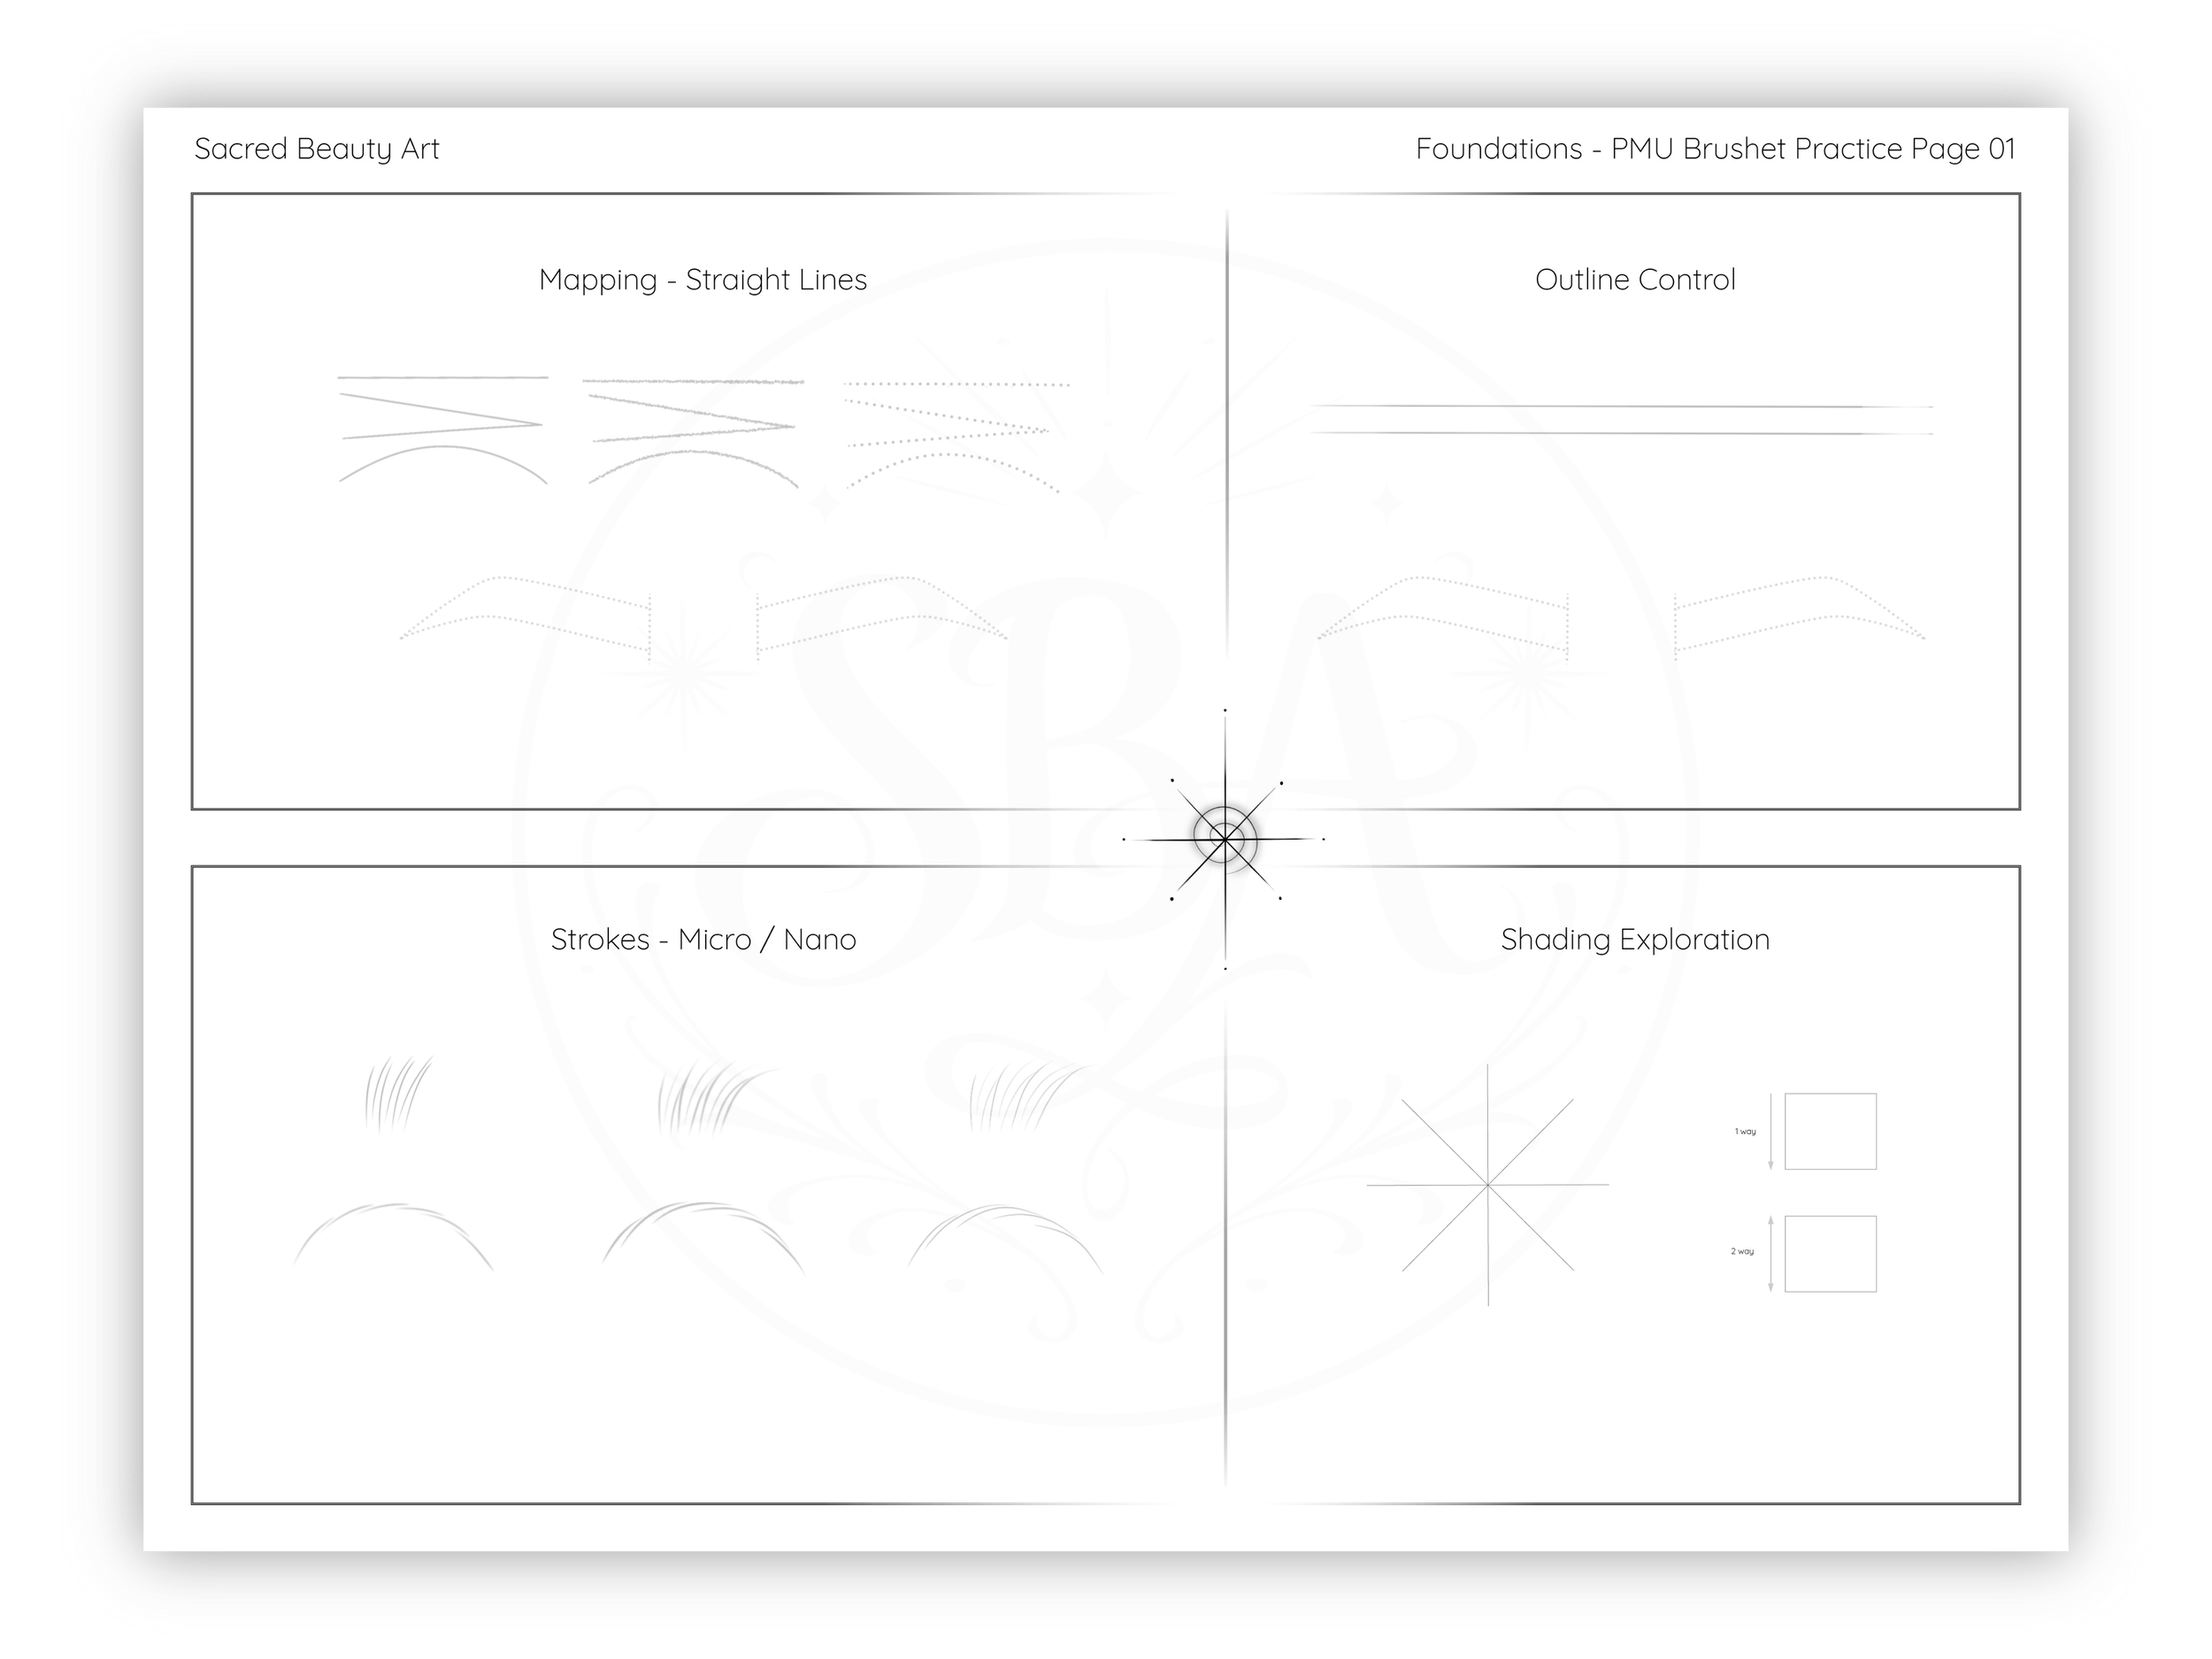
✦ Step 4 - Begin with Mapping Practice
Select a mapping brush.
These brushes are designed to:
create structure
guide your layout
Focus on:
medium pressure
letting the brush do the work
move faster for straight lines
slow down to curve
✦ Step 5 - Practice with the Outline Brush
Select the outline brush.
This step is optional but helpful.
Use it to:
softly define shape
practice steady hand control
Think of this as training your hand to follow form with intention
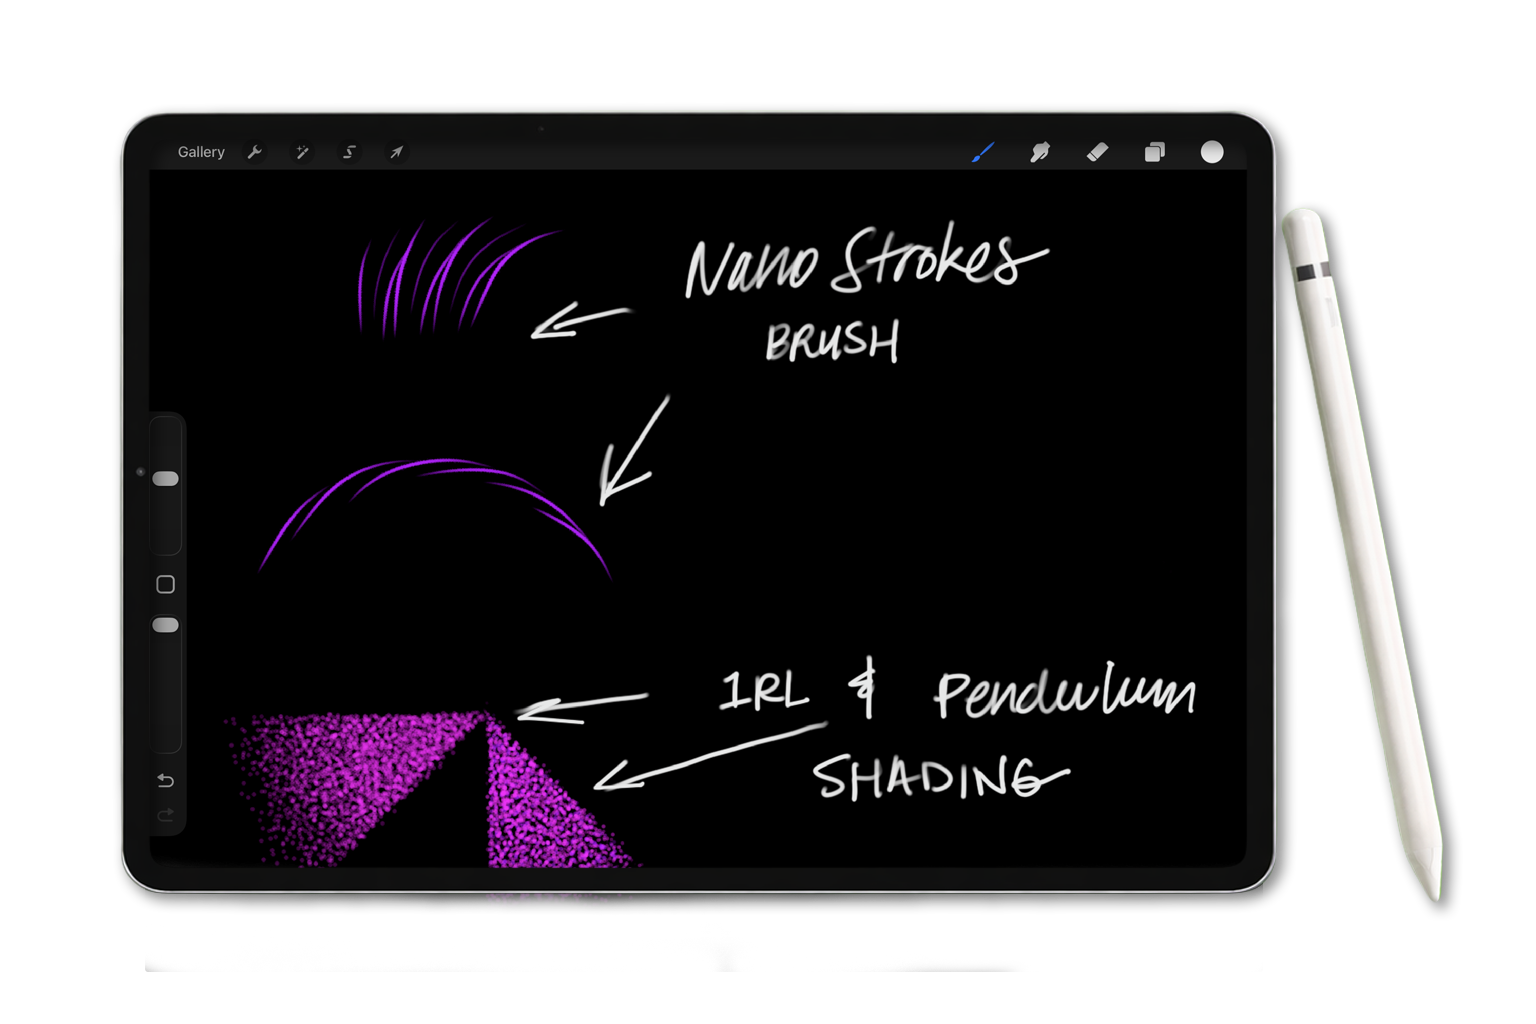
✦ Step 6 - Begin Stroke Practice
Now move into your stroke brushes.
This is where your technique begins to develop.
As you practice:
start with light pressure
apply steady pressure through the middle
lift gently at the end
Each stroke should feel like one continuous motion with changing pressure.
✦ Step 7 - Practice Shading Techniques
Now move into your shading brushes.
You’ll be using:
1RL Whip Brush
Pendulum Shading Brush
Focus on:
softness
layering
gradual buildup
✦ Step 8 - Use the Cleanup Erase Tool (Optional)
Use the cleanup erase brush to:
refine edges
remove heavy areas
make small corrections
Think of this as a finishing tool, not something you rely on constantly
Why This Matters
You’re learning the process of layering, spacing, pressure, and movement.
You begin to understand:
• how strokes sit on top of each other
• how depth and density are created
• how small changes affect the overall result
At the same time, you’re training:
• muscle memory
• hand–eye coordination
• control and consistency
Digital practice allows you to repeat, observe and refine your technique in a way that builds real understanding.
✨ Your Goal for This Lesson
Before moving on, take a moment to:
✔ Save your practice file into your folder
✔ Import it into Procreate
✔ Create a new practice layer
✔ Practice mapping lines
✔ Practice stroke movements
✔ Explore shading techniques
Up Next…
In the next lesson, we’ll begin working on a model image and apply mapping, strokes and shading together.