
Installing + Understanding Your PMU Brush Set
What This Setup Does
Setting up your brush set correctly creates a smoother, more organized workflow.
Instead of searching for files or guessing how to use your tools, everything will be:
stored in the right place
installed properly
ready to use
This allows you to move into practice with more ease and focus.
Lesson 3
In this lesson…
you’ll learn how to properly save, install and set up your PMU brushset and color swatches inside Procreate.
You’ll also begin understanding how each brush is designed to support your technique so you feel more confident before starting practice.
Start Lesson 3 ↓
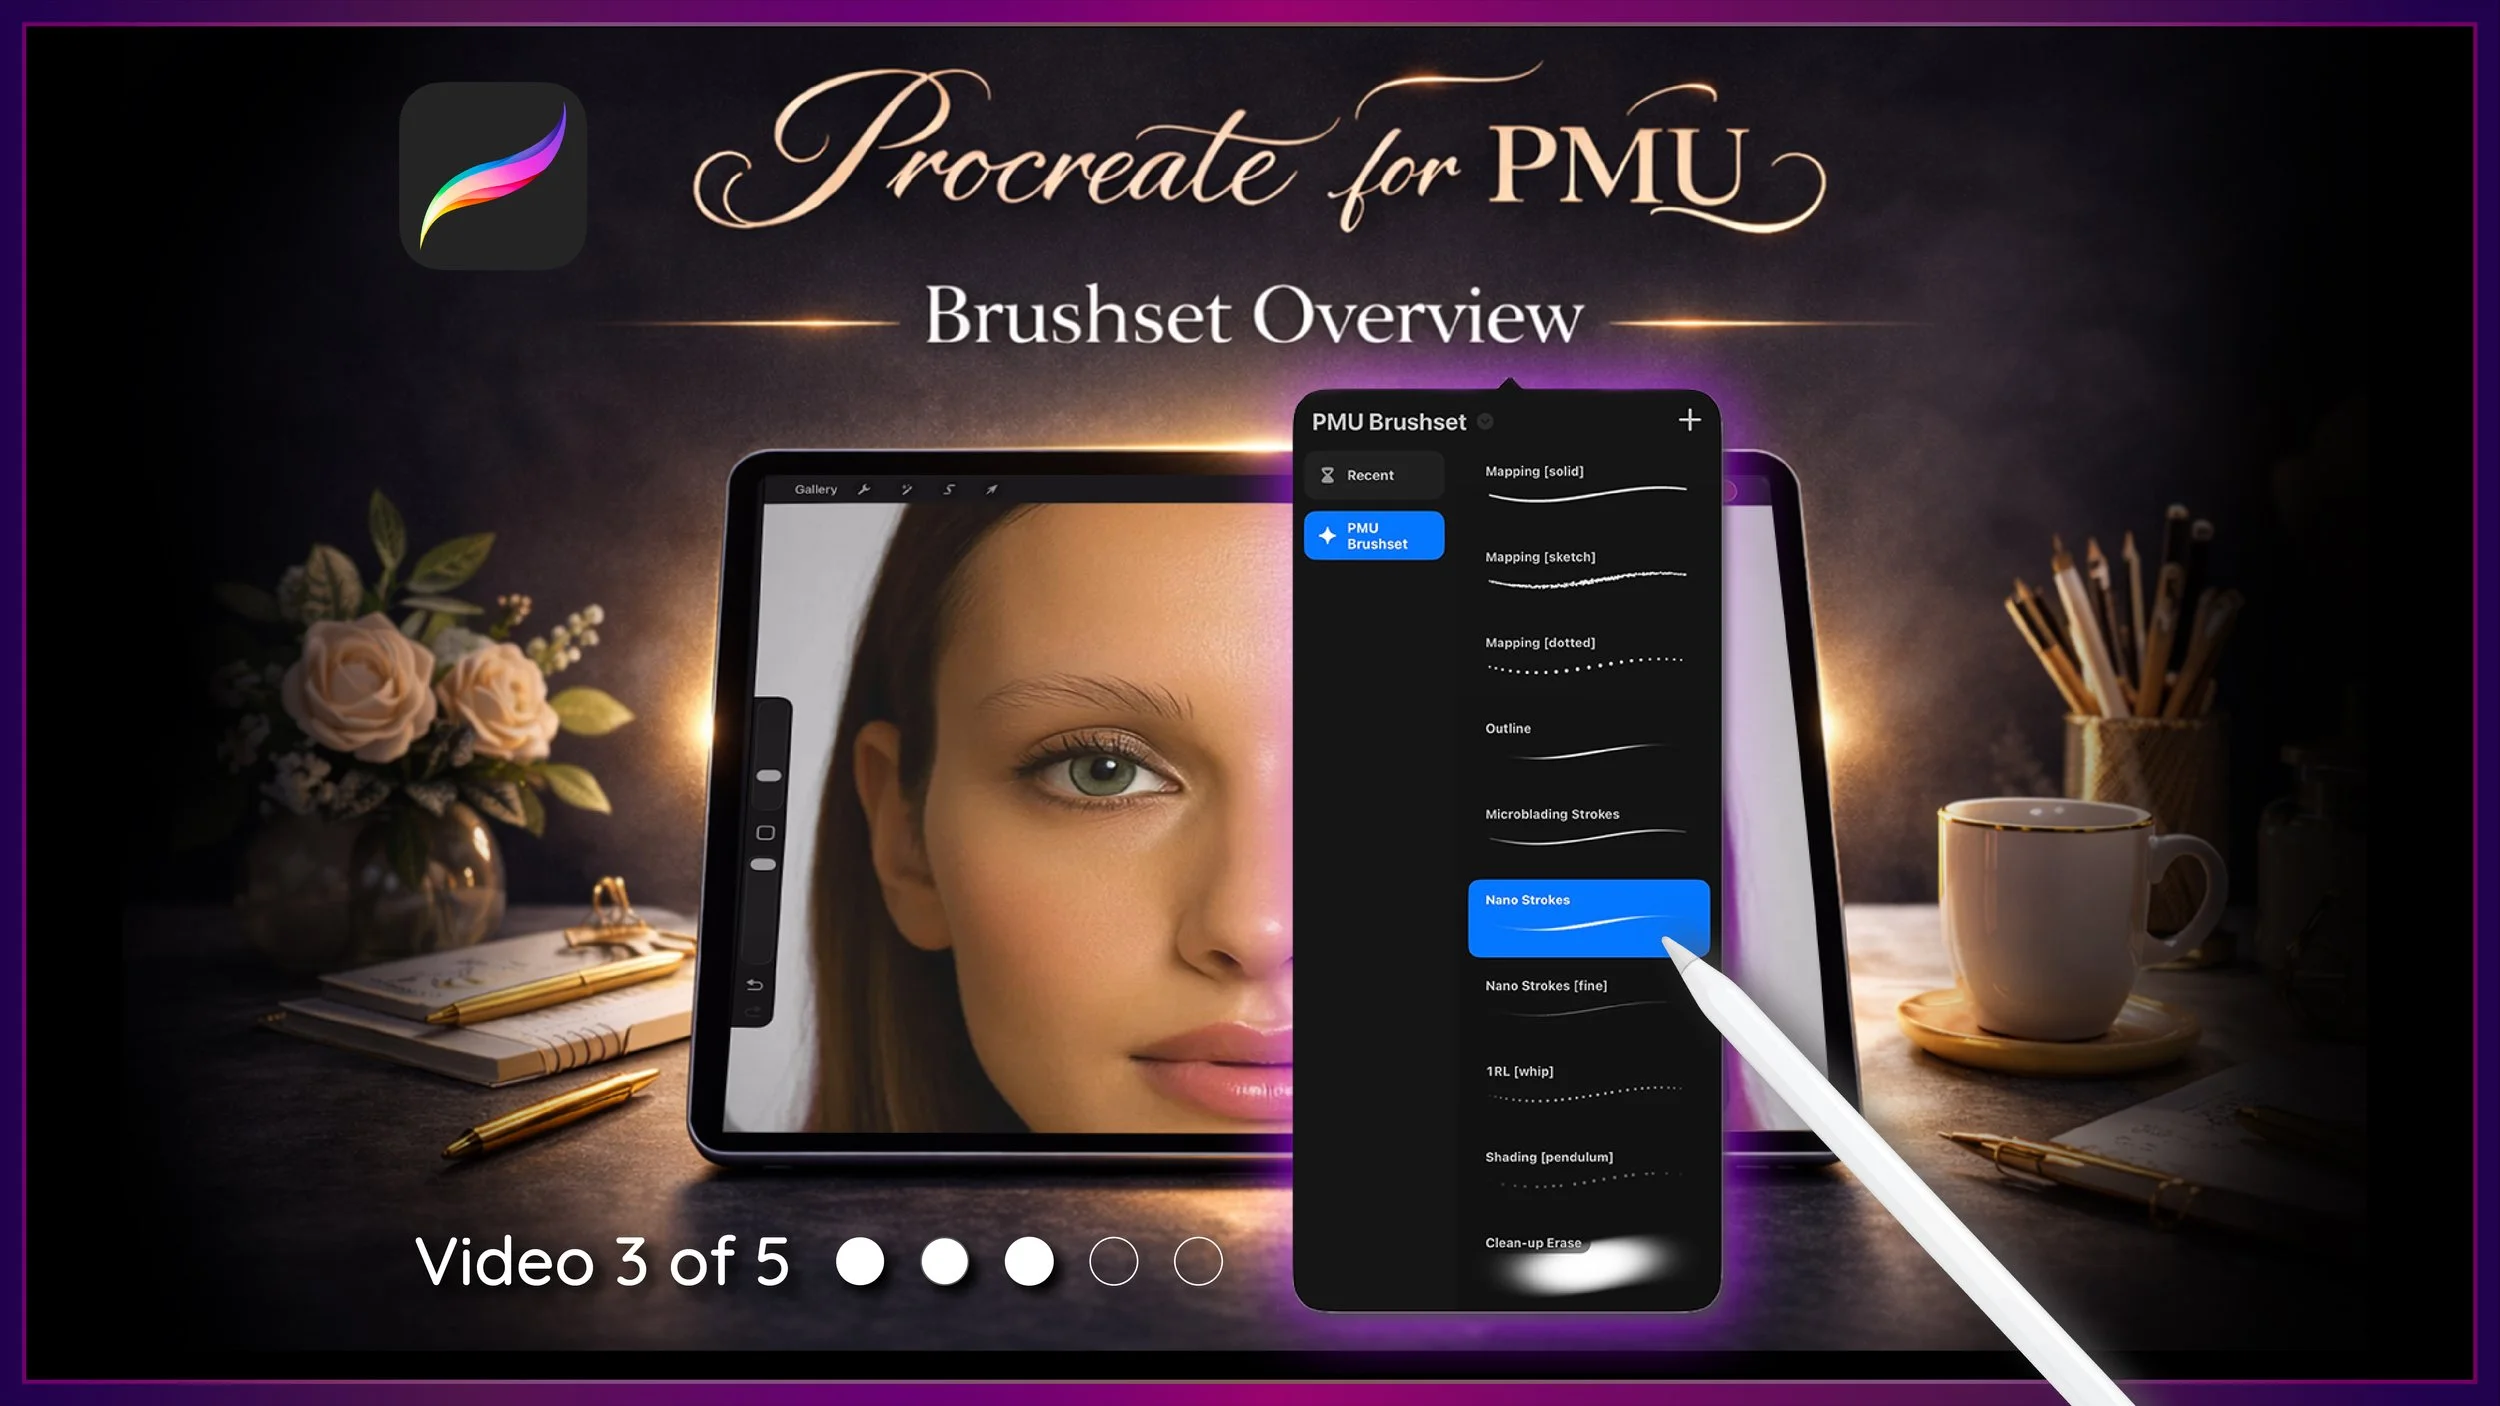
This is Video 3 of the Sacred Beauty Art 5-Part Setup Series, designed to help you build a strong foundation for practicing PMU digitally with Procreate.
Step-by-Step Guide ↓
✦ Step 1 - Save Your Brush Set File
Open the Files App.
Go to your Downloads folder and locate your PMU brush set file.
To organize it:
Tap and hold the file
Select Move
Move it into your Brush Sets folder
(created in Lesson 1)
This keeps your digital tools clean and easy to find.
✦ Step 2 - Install the Brushset
Once your file is in the correct folder:
Tap the brush set file once
Procreate will:
automatically open
install the brush set
No extra steps are needed.
✦ Step 3 - Install Your Color Swatches
Your download also includes color swatches.
To install:
Go back to the Files App
Locate the swatch file
Tap it once
Procreate will automatically install it.
✦ Step 4 - Locate Your Swatches
In Procreate:
Tap the color circle (top right)
Tap Palettes
You’ll see your swatches saved and ready to use.
We’ll use these more in the next lesson when working on a model.
✦ Step 5 - Locate Your Brush Set
Tap the brush icon.
If you don’t see your brush set right away:
pinch inside the brush library to zoom out
or tap “Back to Libraries”
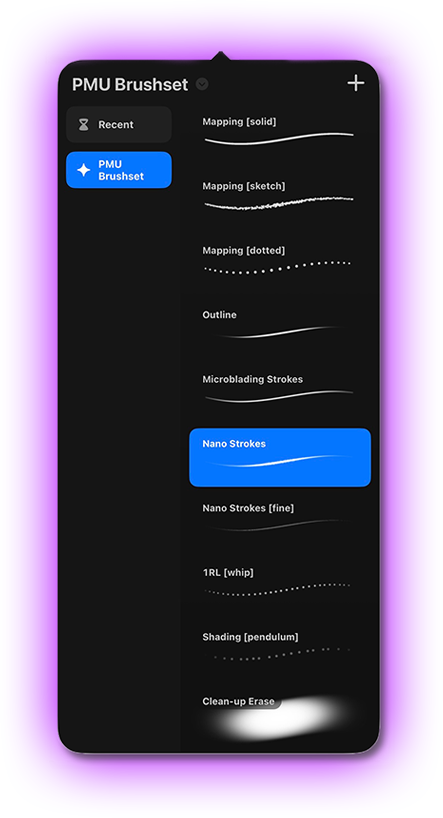
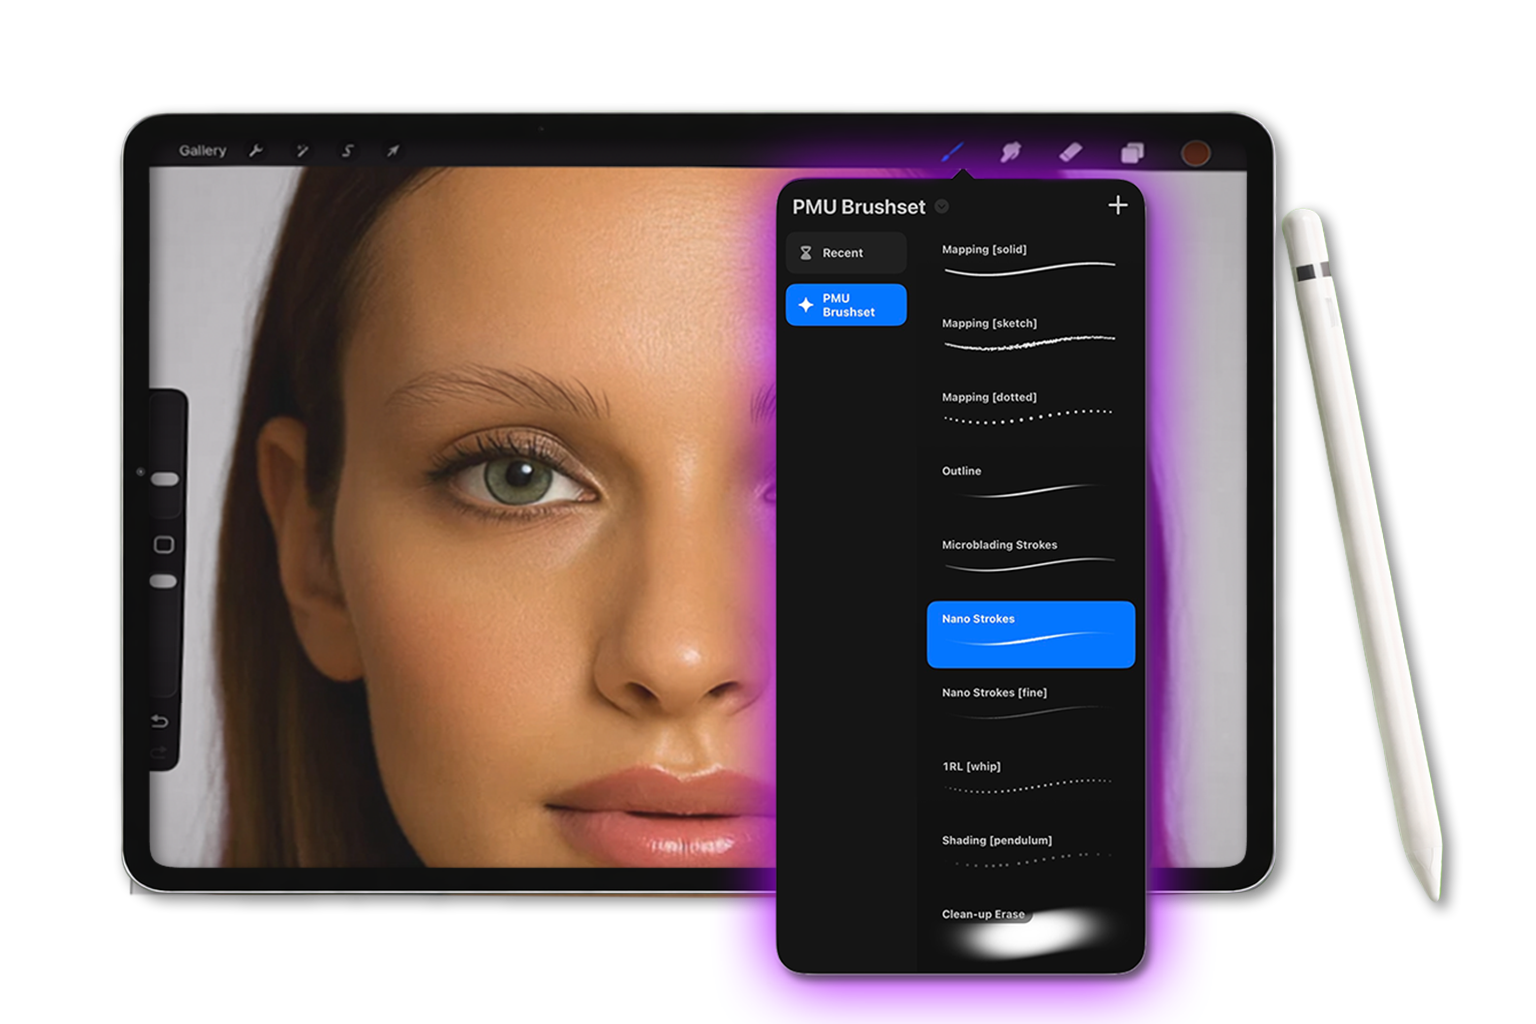
Your PMU brush set will appear as its own Library.
Understanding Your Brush Set ↓
Before practicing, take a moment to understand how your brushes are organized. They are grouped by purpose to guide your workflow.
Mapping Brushes


Used to:
plan structure
create guidelines
These brushes are stable and controlled.

Move quickly → straighter lines
Move slowly → more controlled curves
Outline Brush

softly define the brow shape
visualize edges
requires a steady hand
Think of this like lightly outlining with a brow pencil.
Microblading Brush

slightly blunt taper
mimics manual blade strokes
controlled finish
Nano Stroke Brush

soft, natural taper
mimics machine strokes
smooth and realistic
Nano Fine Brush

same behavior as nano
thinner, more delicate strokes
ideal for lighter density
✨ Stroke Technique Guidance
As you practice: ✅
start with light pressure
apply steady pressure through the middle
lift gently at the end
Each stroke should feel like:
one continuous motion
Avoid: ❌
stopping halfway
rushing too fast
pressing too hard
Aim for a slow, steady rhythm.

1RL Whip Brush
creates soft dots
builds gradually with pressure

Pendulum Shading Brush
faster fill
smooth, even saturation
Cleanup Erase Tool

refine edges
clean up strokes
make small corrections
This helps you adjust your work without starting over.
Why This Matters
It helps you:
understand technique
build consistency
develop control
When you understand how each brush behaves, your practice becomes more intentional.
✨ Your Goal for This Lesson
Before moving on, take a moment to:
✔ Move your brush set into your Brush Sets folder
✔ Install your brush set
✔ Install your color swatches
✔ Locate your brush library
✔ Scroll through each brush group
Up Next…
In the next lesson, we’ll begin practicing on a digital practice page so you can see how these brushes behave and start building muscle memory. This is where everything begins to come together.